How to Conduct a DIY Roof Inspection Using Drone Technology


Introduction to Drone Roof Inspections
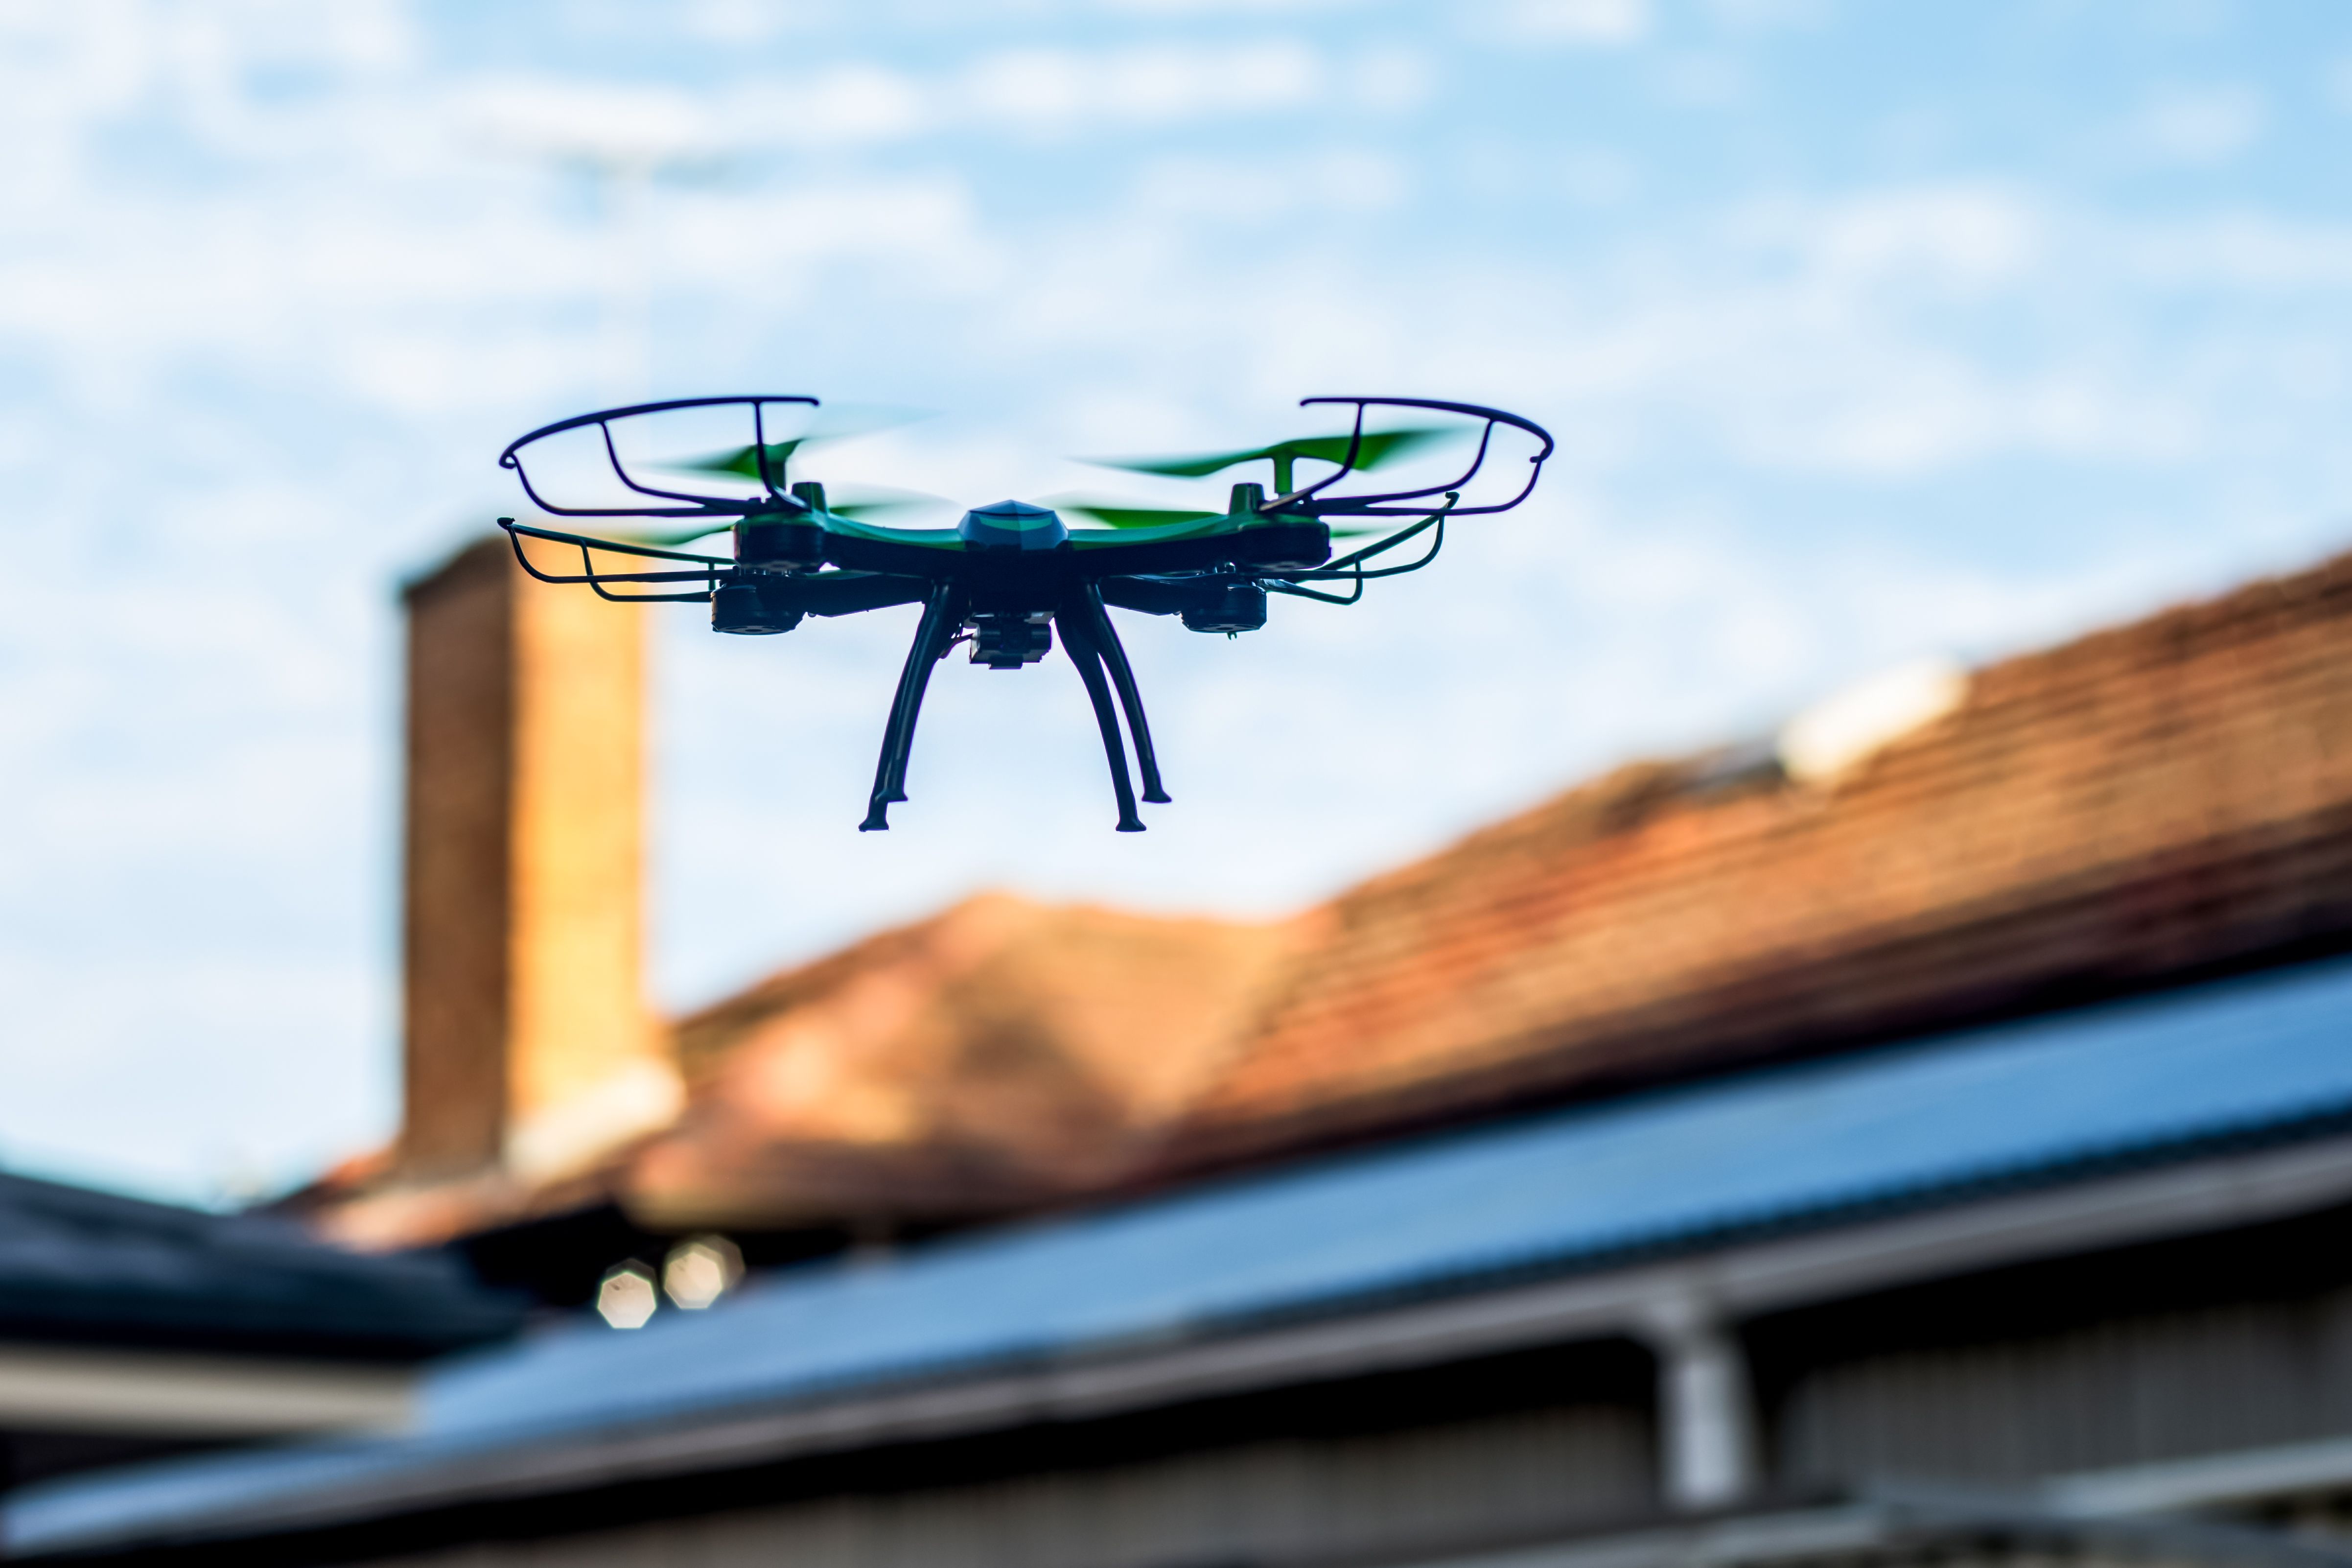
With advancements in technology, inspecting your roof has never been easier. Drones have become an invaluable tool for homeowners looking to conduct a thorough and safe roof inspection. By using a drone, you can identify potential issues without the need for ladders or professional services. In this blog post, we'll guide you on how to conduct a DIY roof inspection using drone technology.
Benefits of Using Drones for Roof Inspections
Using drones for roof inspections offers several advantages. First and foremost, it ensures safety. Climbing onto a roof can be dangerous, especially if you're not experienced. Drones eliminate this risk by allowing you to inspect your roof from the ground. Additionally, drones provide a comprehensive view of your roof, capturing high-resolution images and videos that can highlight even minor issues.
Cost-Effective Solution
Another significant benefit is cost savings. Hiring professionals for roof inspections can be expensive, whereas investing in a drone can be a one-time cost that provides ongoing value. Moreover, drones can help you detect problems early, potentially saving you money on costly repairs down the line.
Preparing for Your Drone Inspection
Before you begin your inspection, ensure your drone is ready for flight. This includes charging the batteries, ensuring the camera is functioning correctly, and checking that all software updates are installed. Additionally, familiarize yourself with local regulations regarding drone flights to avoid any legal issues.

Weather Considerations
Check the weather forecast before conducting your inspection. Ideal conditions include clear skies and minimal wind. Windy days can make it challenging to control the drone and may result in less stable footage. Always prioritize safety and wait for suitable weather conditions if necessary.
Conducting the Inspection
Once you're ready to fly, start by capturing a wide shot of your entire roof to get an overall view. Then, focus on specific areas of concern such as the edges, gutters, chimneys, and any areas that seem to have accumulated debris or show signs of wear and tear.
- Begin with a general overview shot.
- Focus on critical areas like gutters and chimneys.
- Take note of any obvious damage or wear.
Analyzing the Footage
After completing your flight, review the footage carefully. Look for signs of damage such as missing shingles, cracks, or any discoloration that could indicate water damage. Take notes on any areas that need further attention or repairs.
Next Steps
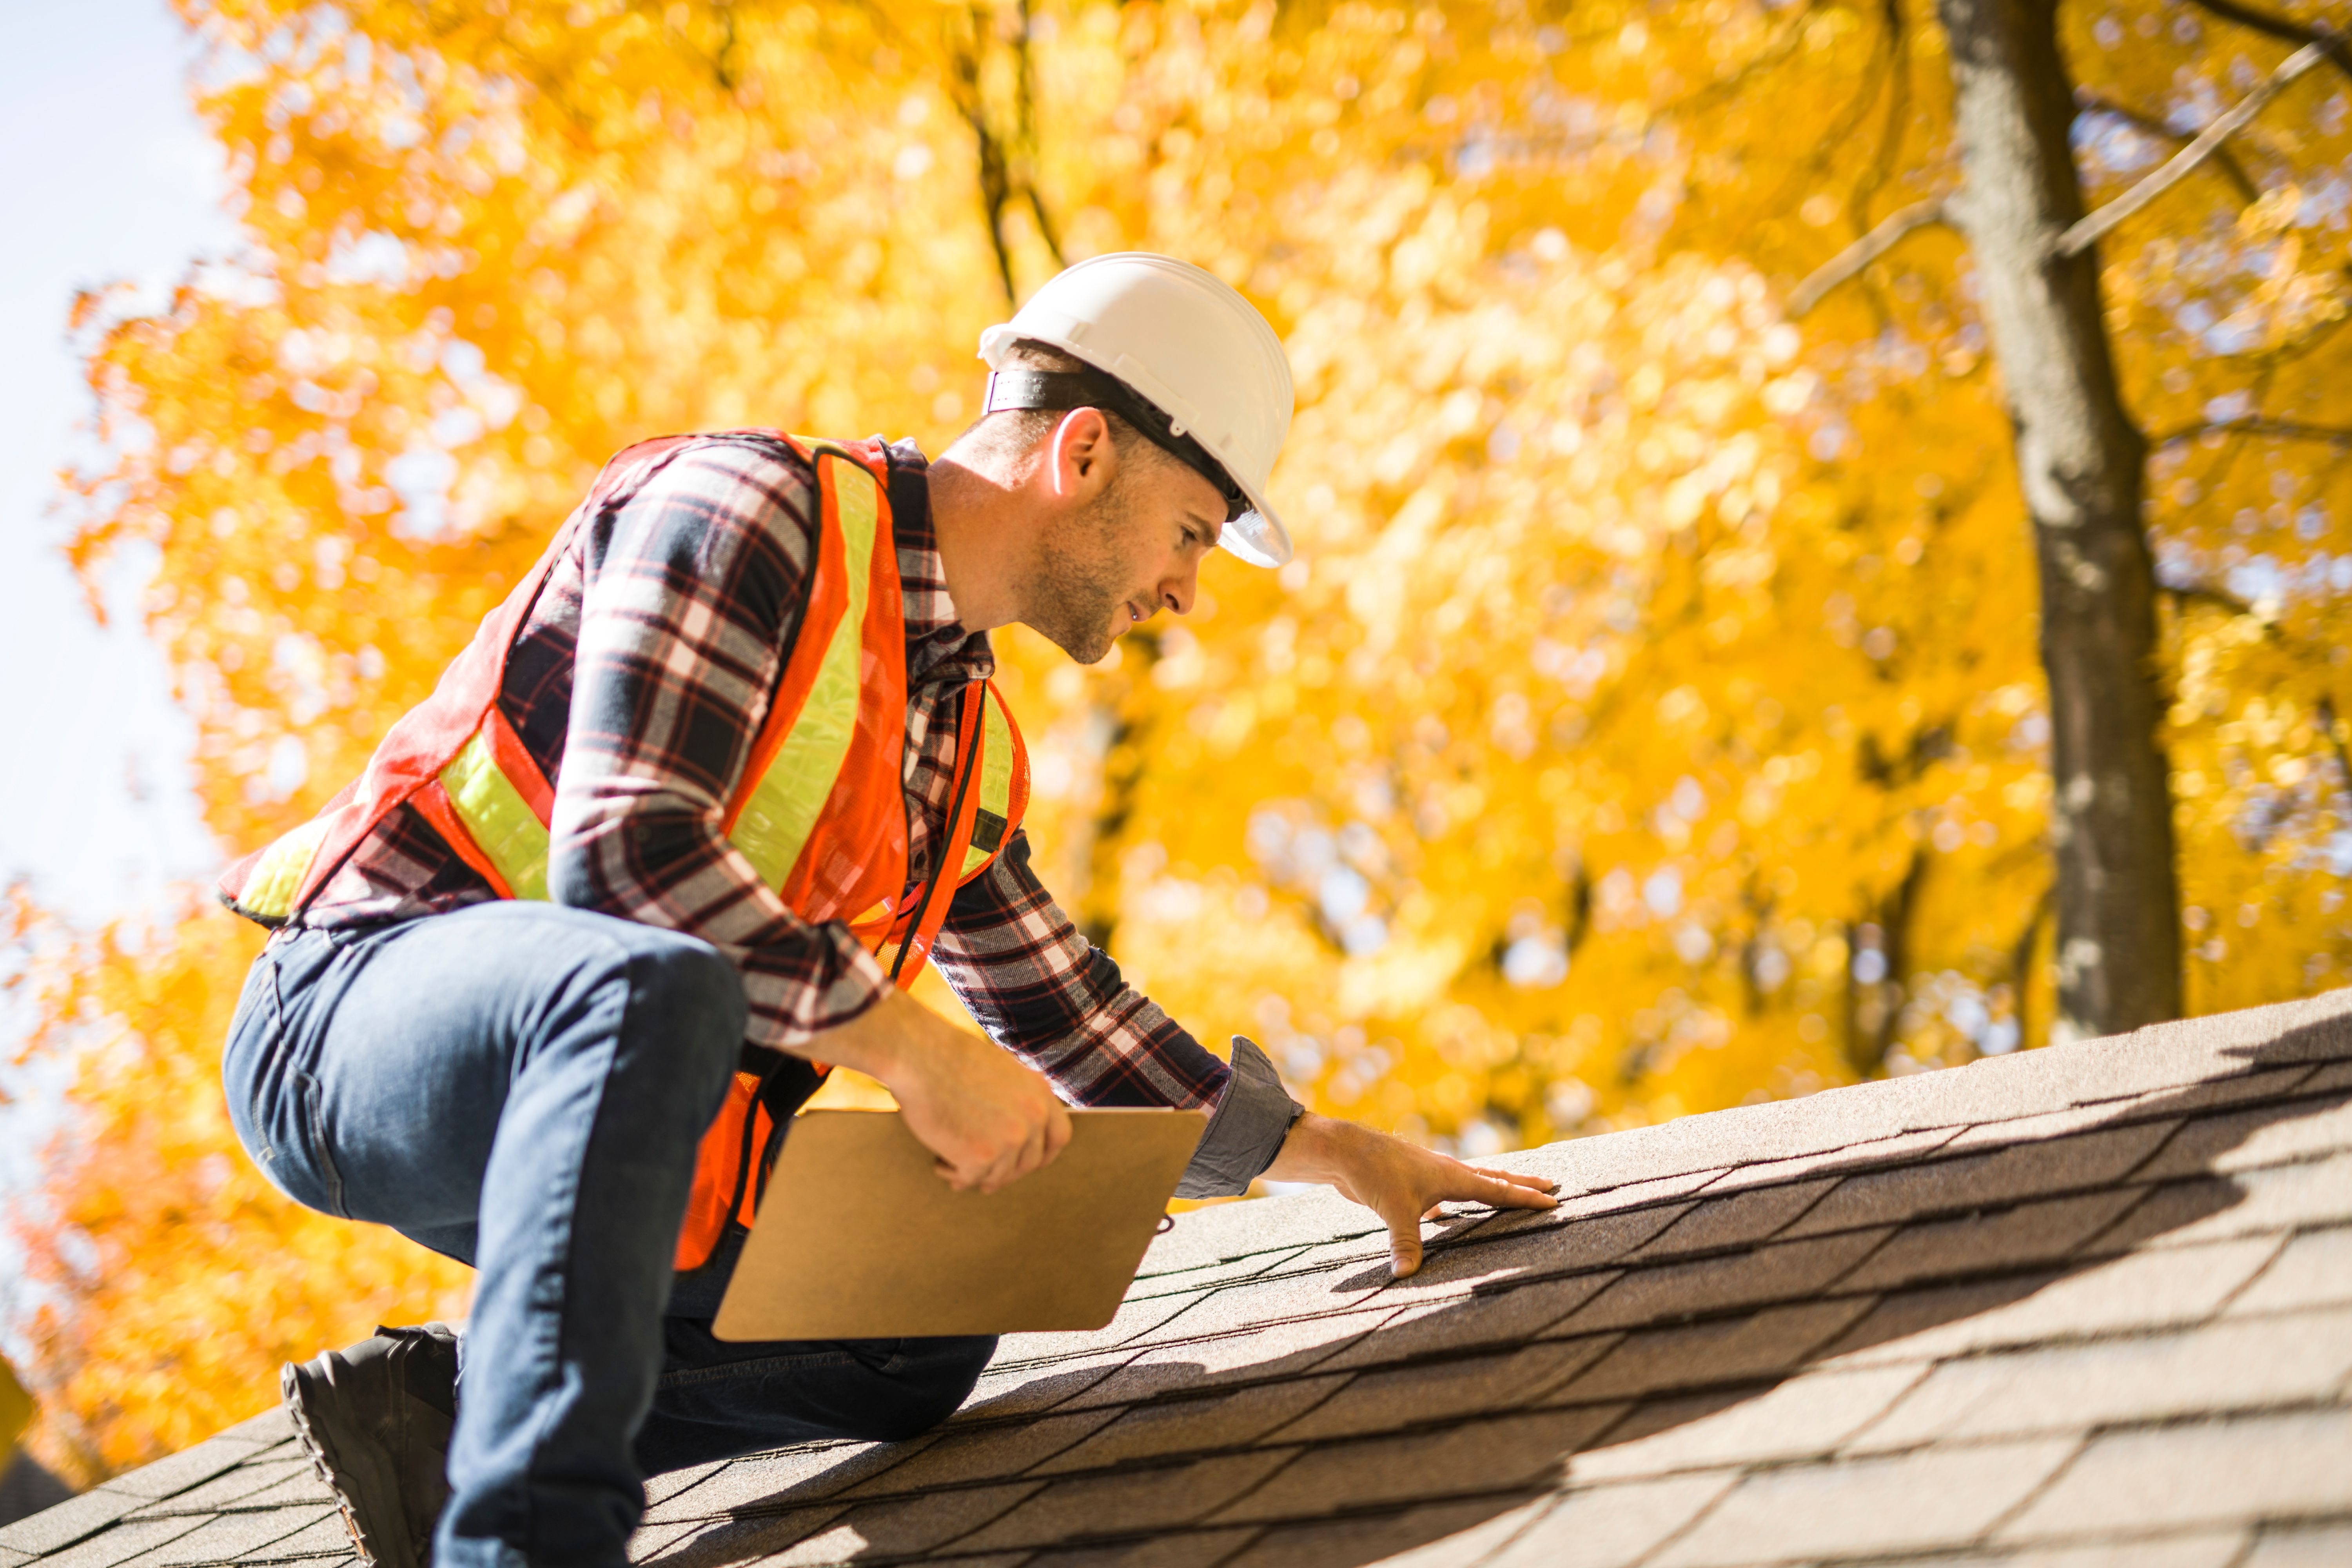
If you identify potential issues during your drone inspection, it's crucial to address them promptly. For minor repairs, you might be able to handle them yourself. However, for more significant problems, it's advisable to consult with a professional roofer to ensure the job is done correctly.
In conclusion, using drones for DIY roof inspections is an effective and efficient way to maintain your home's integrity. By regularly inspecting your roof with a drone, you can prevent minor issues from becoming major problems and extend the lifespan of your roof.